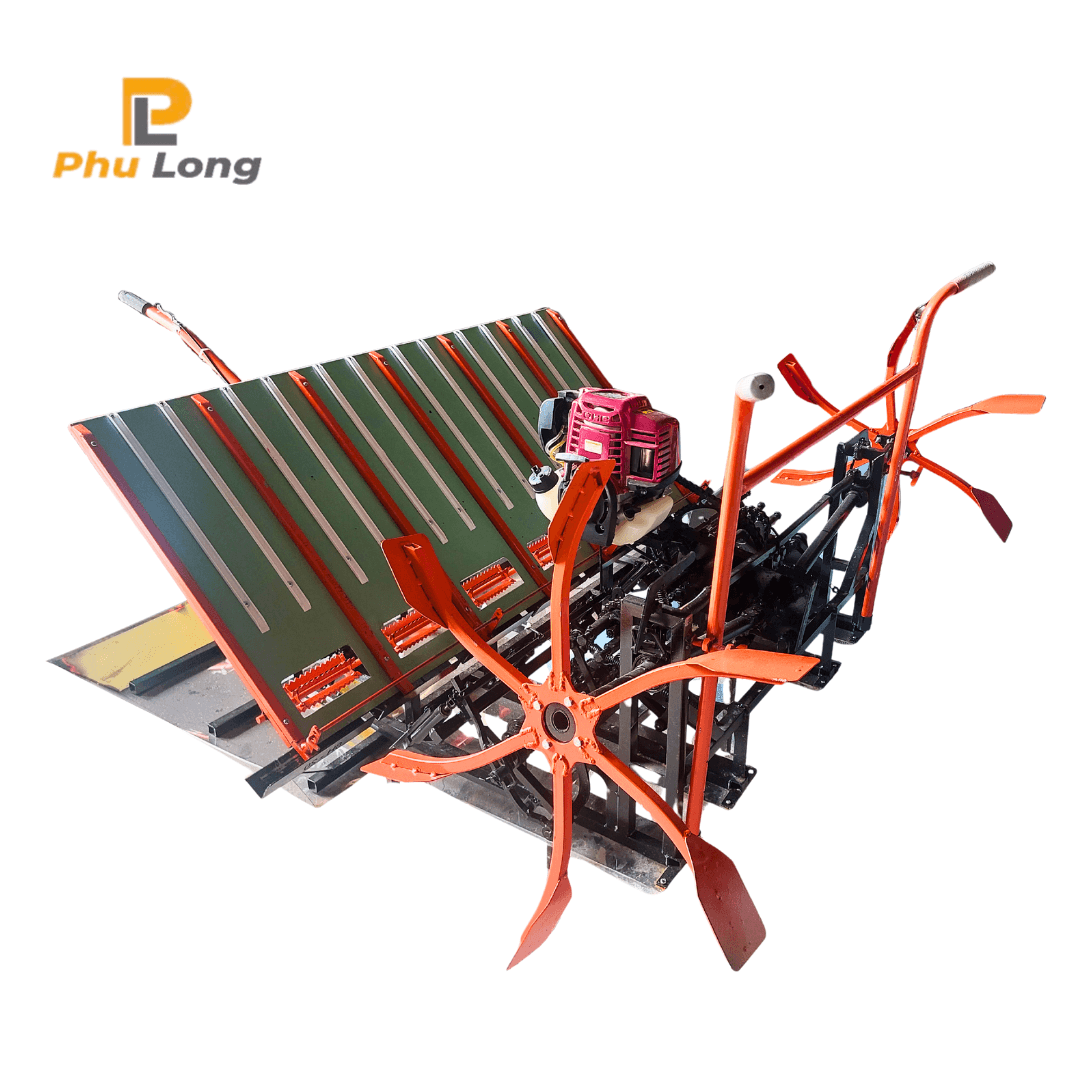
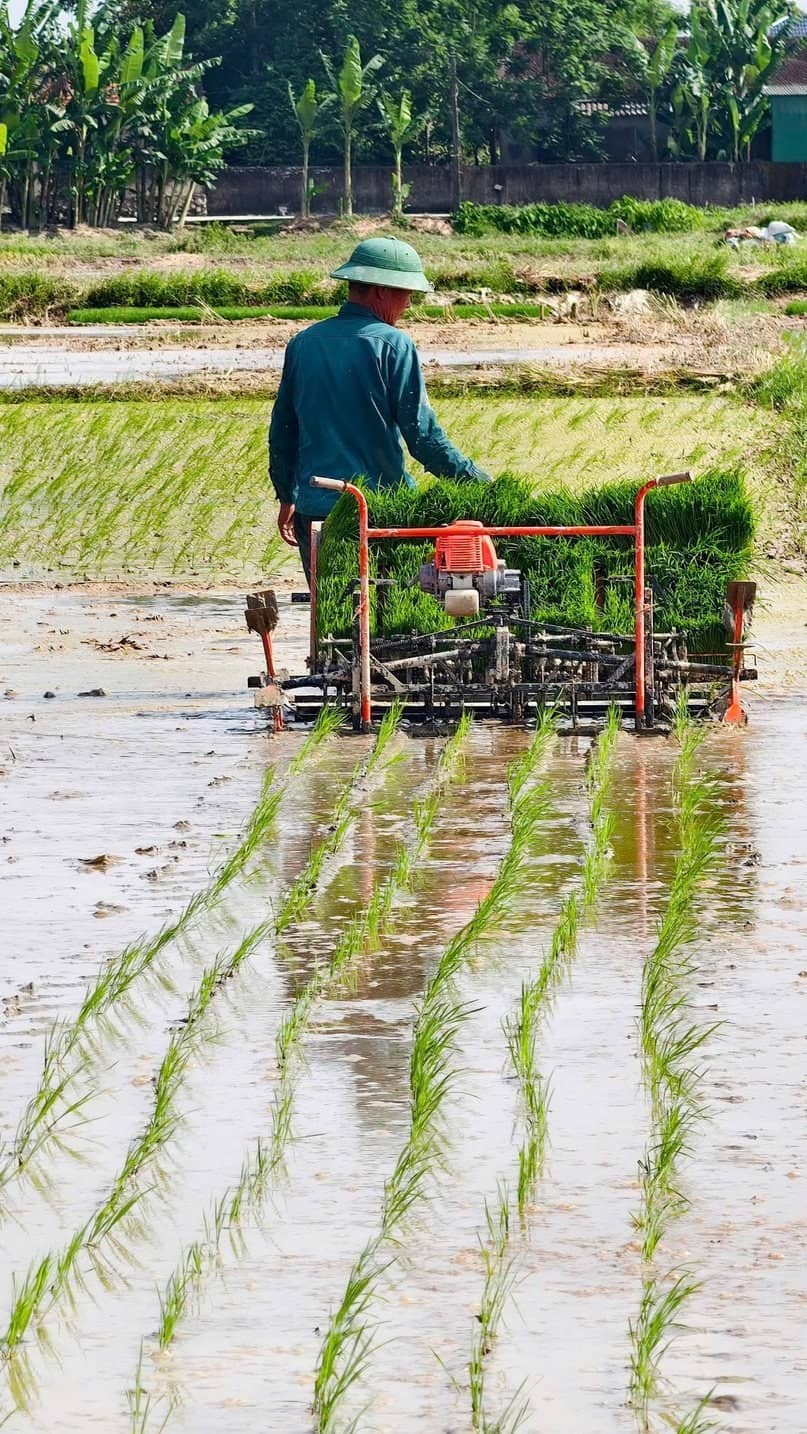
A rice transplanter is only as good as the seedlings you feed it. Thin, uneven or short seedlings cause missed hills and broken plants, and farmers blame the machine. This guide follows the procedure we give to every customer who buys our PLSP and PLHP transplanters.
Where to Raise the Seedlings
You can sow on the trays supplied with the machine, on a concrete floor, or on firm, levelled ground covered with a plastic sheet. Whichever you choose, pick a spot with plenty of sunlight. Seedlings raised in shade become weak and soft, are prone to fungal root disease and often die after transplanting.
Step 1: Prepare the Mud
- Collect mud from a pond or river.
- Remove snails, stones and gravel. Hard objects can damage the transplanting claw.
- The mud should be thick, about the consistency of mortar, not watery.
- Mix 1 bucket of rice husk with 3 buckets of mud. The husk keeps the mat light and helps roots knit together.
Step 2: Prepare the Seed
Soak and incubate the seed as you normally would. Sow as soon as the sprouts are 1–2 mm long. If roots and shoots grow longer, they tangle and break during sowing and the mat comes out uneven.
Step 3: Sow Evenly
- Spread the mud mixture evenly and level it with a straight ruler along the edges of the seedling frame.
- Weigh the sprouted seed. The target density is 0.7–0.8 kg per m² — for a 2 m² tray, that is 1.4–1.6 kg.
- Scatter the seed evenly using a basket with holes. Hold a sheet of cardboard or metal at the edge as a shield so seed does not fall outside the tray.
- Sweep the surface lightly with a broom to even out the seed, then press every seed gently into the mud with a wet sponge or broom. Do not skip this — it is what gives even germination.
- Separate the edges with a thin knife, lift the frame and move on to the next tray. If you are not using our trays, cut the mat into sections with a cutting mould after 1–2 days.
Step 4: Fertilise and Care
- Never mix fertiliser into the mud. Uneven mixing gives patchy growth, and some seedlings die from fertiliser burn.
- In the winter–spring season, dissolve about 15 g of NPK 16-16-8 in 7 litres of water and spray once, when seedlings are 2–3 cm tall.
- In the summer season, no fertiliser is needed; just keep the mat moist so seedlings do not wilt.
- Water to keep the mat moist and warm, but do not cover it so tightly that air cannot move.
- Use a protective net if birds or rats are a problem.
Step 5: Know When They Are Ready
Seedlings are ready when they reach 12–14 cm, and the best window for transplanting is 12–15 cm. Do not transplant seedlings shorter than 10 cm. The claw can hit and crush small seedlings, and the press wheel finishes the damage.
Water the seedlings one day before moving them, and handle the mats gently in transport so they do not break.
Step 6: Prepare the Field
- Plough and level the field 3–4 days before transplanting.
- Keep 3–5 cm of water in the field when the seedlings arrive.
- Do not let the field get too dry. Dry mud increases drag on the operator and pushes mud over the newly planted rows.
Why It Matters
Mat seedlings at the right density and height let the machine pick a consistent number of plants for every hill. That is how a PLSP-06 can plant 950–1,200 m² per hour with an even stand, and how a PLHP-04 reaches 360–450 m² per hour for smallholders.
Distributors: we can supply seedling trays and transplanter spare parts — claws, sprockets, chains and covers — with your machine order. Ask us on WhatsApp at +84 946 964 669 or through our quote form.