A drum concrete mixer is a simple machine, and that is exactly why it gets neglected. Most breakdowns we hear about come from the same few causes: hardened concrete in the drum, dry gears, a slipping belt or an engine run low on oil. Ten minutes a day prevents nearly all of them.
Before You Start: The 2-Minute Check
- Engine oil — check the level on the dipstick with the mixer standing level. Top up with the grade in the engine manual. Never start a gasoline or diesel engine low on oil.
- Fuel and air filter — on dusty sites, the air filter clogs quickly. Tap it clean or replace it when it looks dark.
- Electric motors — inspect the cable, plug and switch for damage. Keep the motor dry and never run it with a cut or taped-over cable.
- Guards — make sure belt and gear guards are in place before starting.
- Stand and wheels — set the mixer on firm, level ground and chock the wheels.
During Work
- Load with the drum turning — add water and part of the aggregate first, then cement, then the rest. This reduces sticking and strain on the drive.
- Do not overload — the usable batch is well below the nominal drum capacity. Overfilling spills material, strains the gears and shortens bearing life.
- Listen — knocking, grinding or a change in engine note is a signal to stop and look.
After Work: Clean the Drum While It Is Wet
This is the single most important habit.
- Rinse the drum and blades immediately after the last batch, while the concrete is still soft.
- Add a few shovels of coarse gravel with water and let the drum turn for a few minutes. The gravel scours the inside. Then empty and rinse again.
- Wash concrete splashes off the gear ring, frame and engine.
- Never hammer the drum to knock off hardened concrete. Dents make the next batch stick even more and can crack the drum seams.
- Tip the drum mouth down after cleaning so water drains out and the drum does not rust.
Our drums use 2–3 mm steel depending on model, and keeping them clean is the best way to protect that thickness over the years.
Weekly: Gears, Belt, Tyres and Bolts
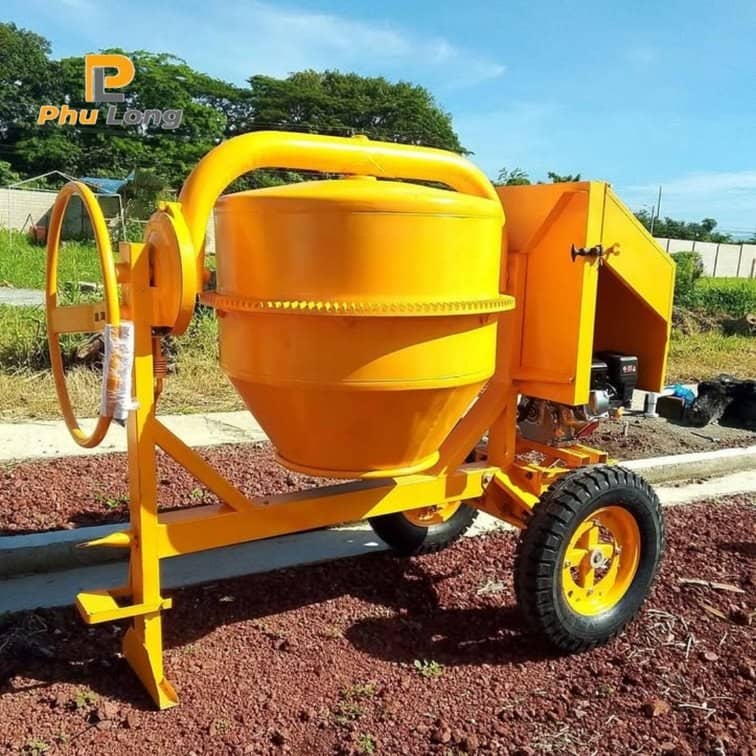
Gear ring and pinion — the open gear that turns the drum is exposed to sand and cement. Wipe off old, gritty grease and apply fresh grease to the teeth. Grease mixed with sand acts like grinding paste, so clean first, then grease.
Bearings and pivot points — grease the drum bearing, the tilting mechanism and any grease nipples. A few pumps are enough; excess grease only collects dirt.
Belt tension — press the middle of the belt firmly with your thumb. It should give a little but not flap. A loose belt slips and loses drum speed; an over-tight belt wears bearings. Replace belts that are cracked, glazed or frayed.
Tyres — pneumatic tyres should be inflated to the pressure on the tyre sidewall; underinflated tyres make towing hard and wear quickly. Solid tyres need no air, but check them for cracks and chunks missing.
Bolts and welds — check that the engine mounting, drum frame and tilting handle bolts are tight. Look for cracks around welds, especially on the tow bar and axle.
Engine Servicing
Follow the engine maker's schedule for oil changes, spark plug (gasoline) and fuel filter (diesel). Change oil more often in very hot or dusty conditions. Keep a simple logbook with hours and dates; it makes warranty and resale easier.
Storage
For longer storage, clean the drum fully, coat bare steel with a light oil film, cover the machine, and drain or stabilise fuel according to the engine manual.
Need spare parts such as gear rings, pinions, belts or tyres for your mixers? Message us on WhatsApp at +84 946 964 669 with your model and photos, or use our quote form.